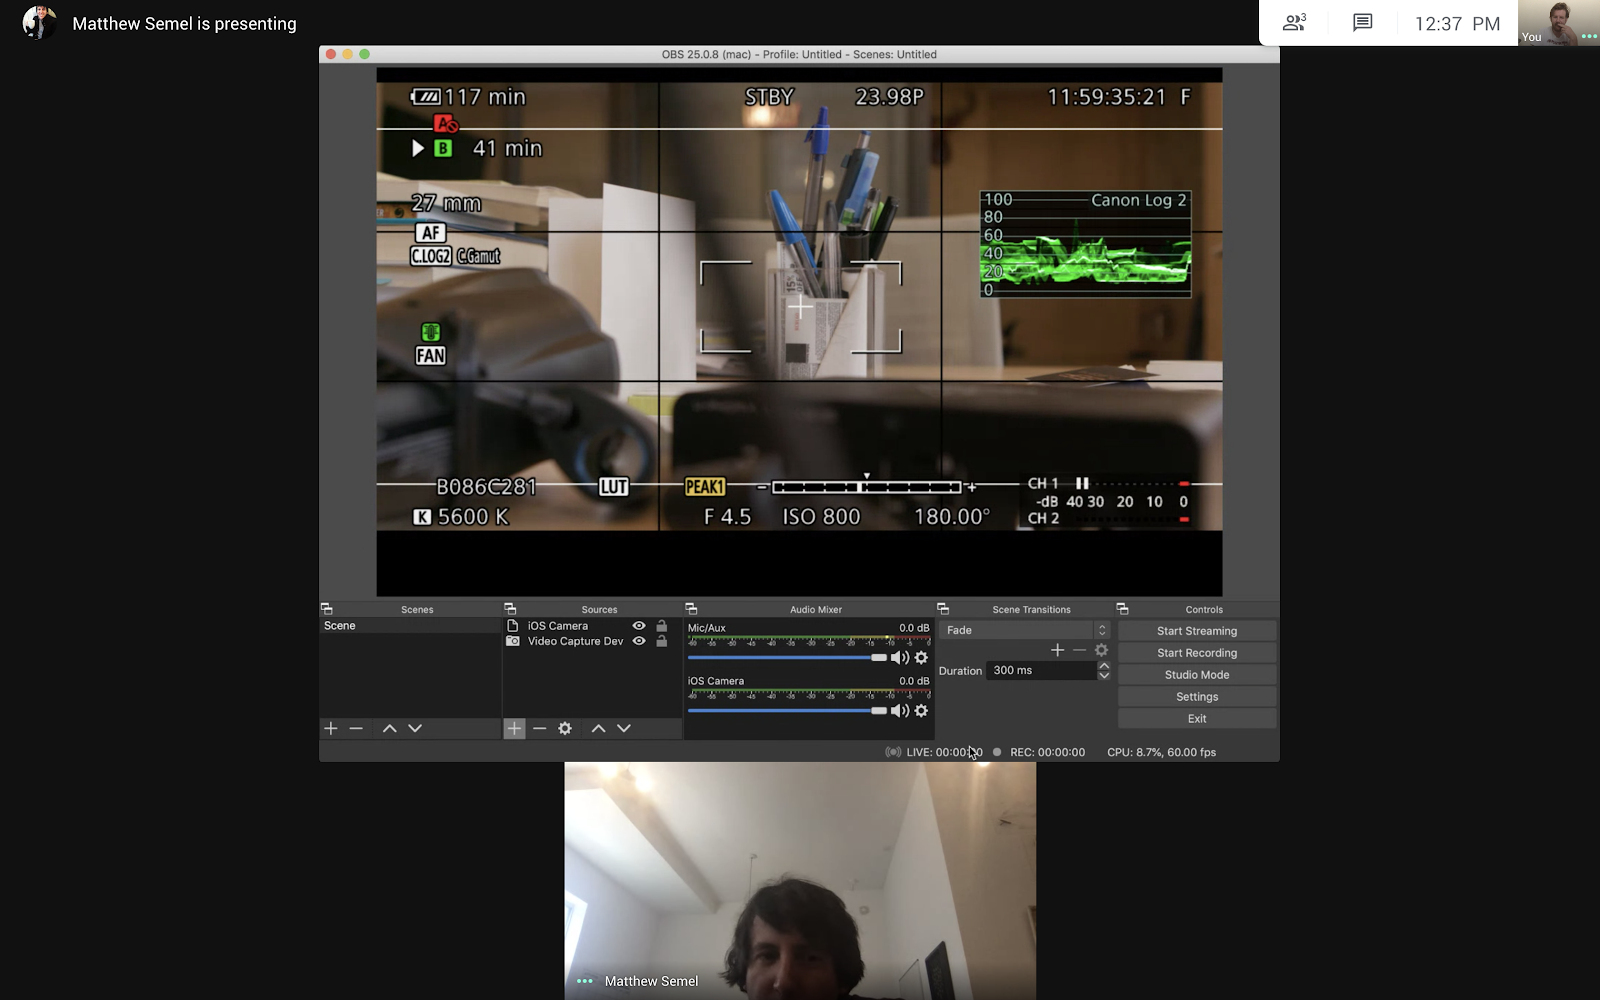
As we ramp up production, we still need to have as few people as possible show up to a shoot. With that in mind, we need a high quality image and audio to people on a video conference and to get feedback while operating a camera, from both clients and producers. Below are the tools and techniques to set this up..
Gear:
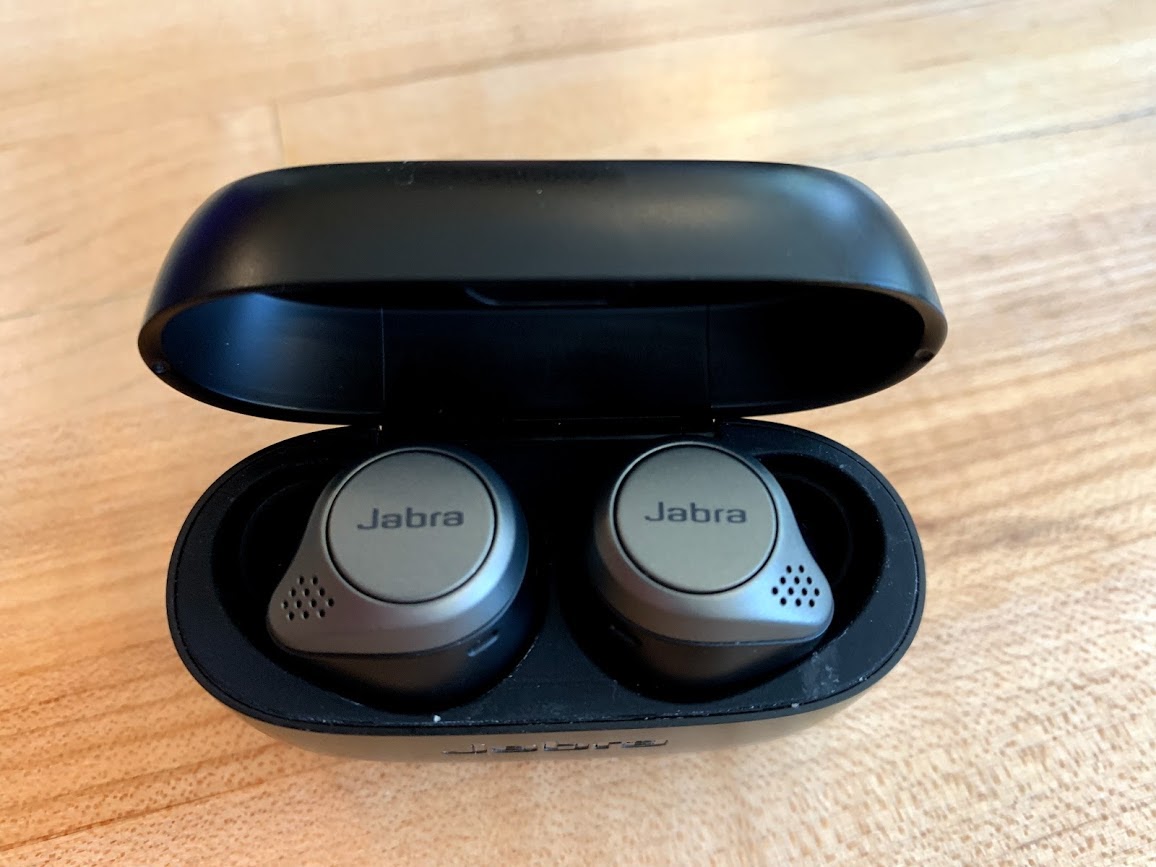
Wireless earbuds of your choice. I prefer Jabra Elite 75t, but any bluetooth will do. These are key to make sure you monitor the conference call, and not contaminate the production sound.
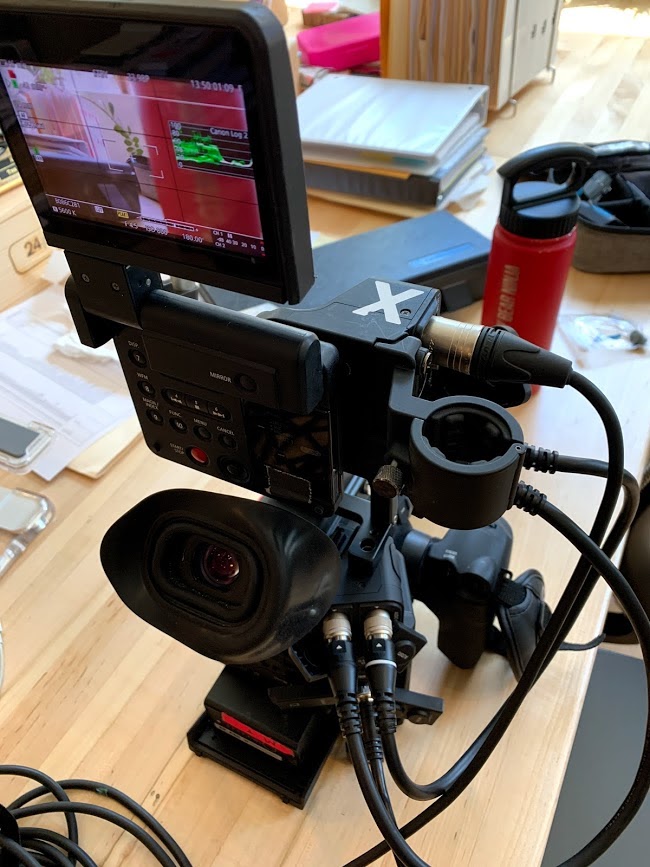
Professional camera with BNC(SDI) or HDMI output. In this case a C300 Mk II. We prefer BNC cables because they can run long distances and are more stable. Alternatively, a wireless Teradek would provide more flexibility. Also it’s important to run your production sound through the camera, so it all goes out to the computer via one cable.
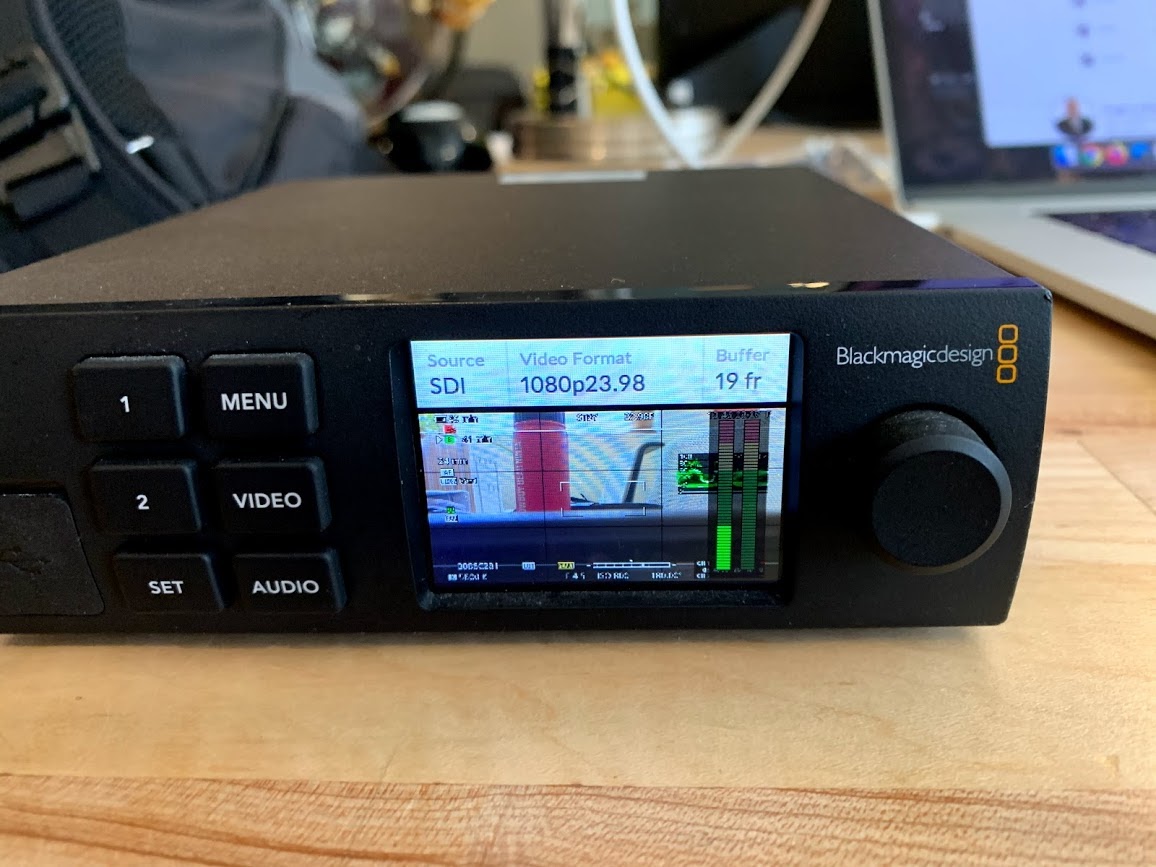
Capture device for IO. Pictured here is a Blackmagic Ultra Studio HD Mini with a Teranex Panel. A cheaper, though way more back-ordered option is the UltraStudio Mini Recorder. Both of these can take BNC or HDMI input, though you can also shop around for HDMI only devices. I like Blackmagic as a brand because they are reliable, and are the only devices that work with DaVinci Resolve.
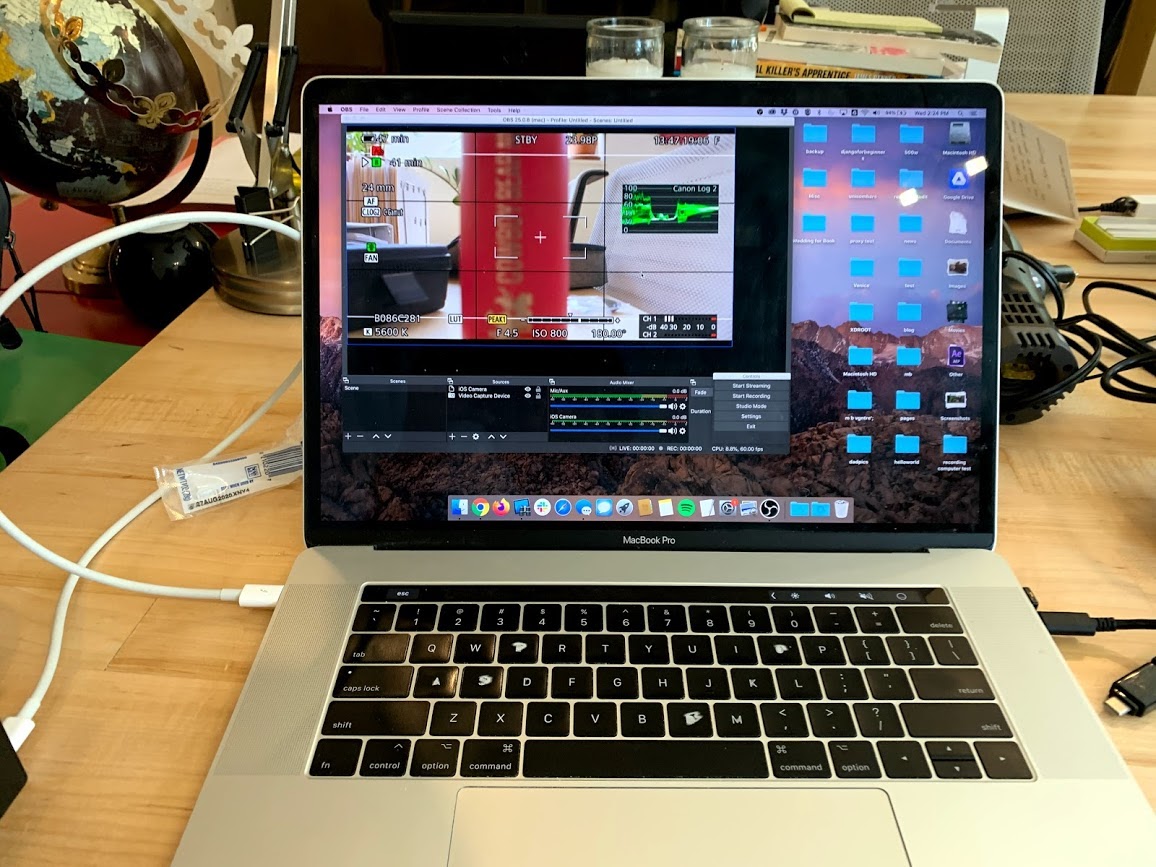
A decently powerful computer. Pictured here is my 15” MacBookPro reunited with our hastily abandoned office. Also pictured is my lunch of a single string cheese.
Software:
Your video conferencing software of choice. I tested with Google Meet and Zoom, but it should also work with WebEx or the free open-source Jitsi. If you want to step things up in terms of quality for your client and have a good budget, try evercast.
OBS Studio - Simply used for monitoring your work, though could also be used for creating a livestream to a service like YouTube. My experience is that a livestream may provide higher quality video, but latency is very important in a production environment. The delay is too long on a livestream.
Setting it all up
- Get your camera up and running, including microphones, etc.
- Make sure you’ve installed the Blackmagic Desktop Video software and updated the firmware on your capture device.
- Hook up the camera to the capture device via HDMI or cable.
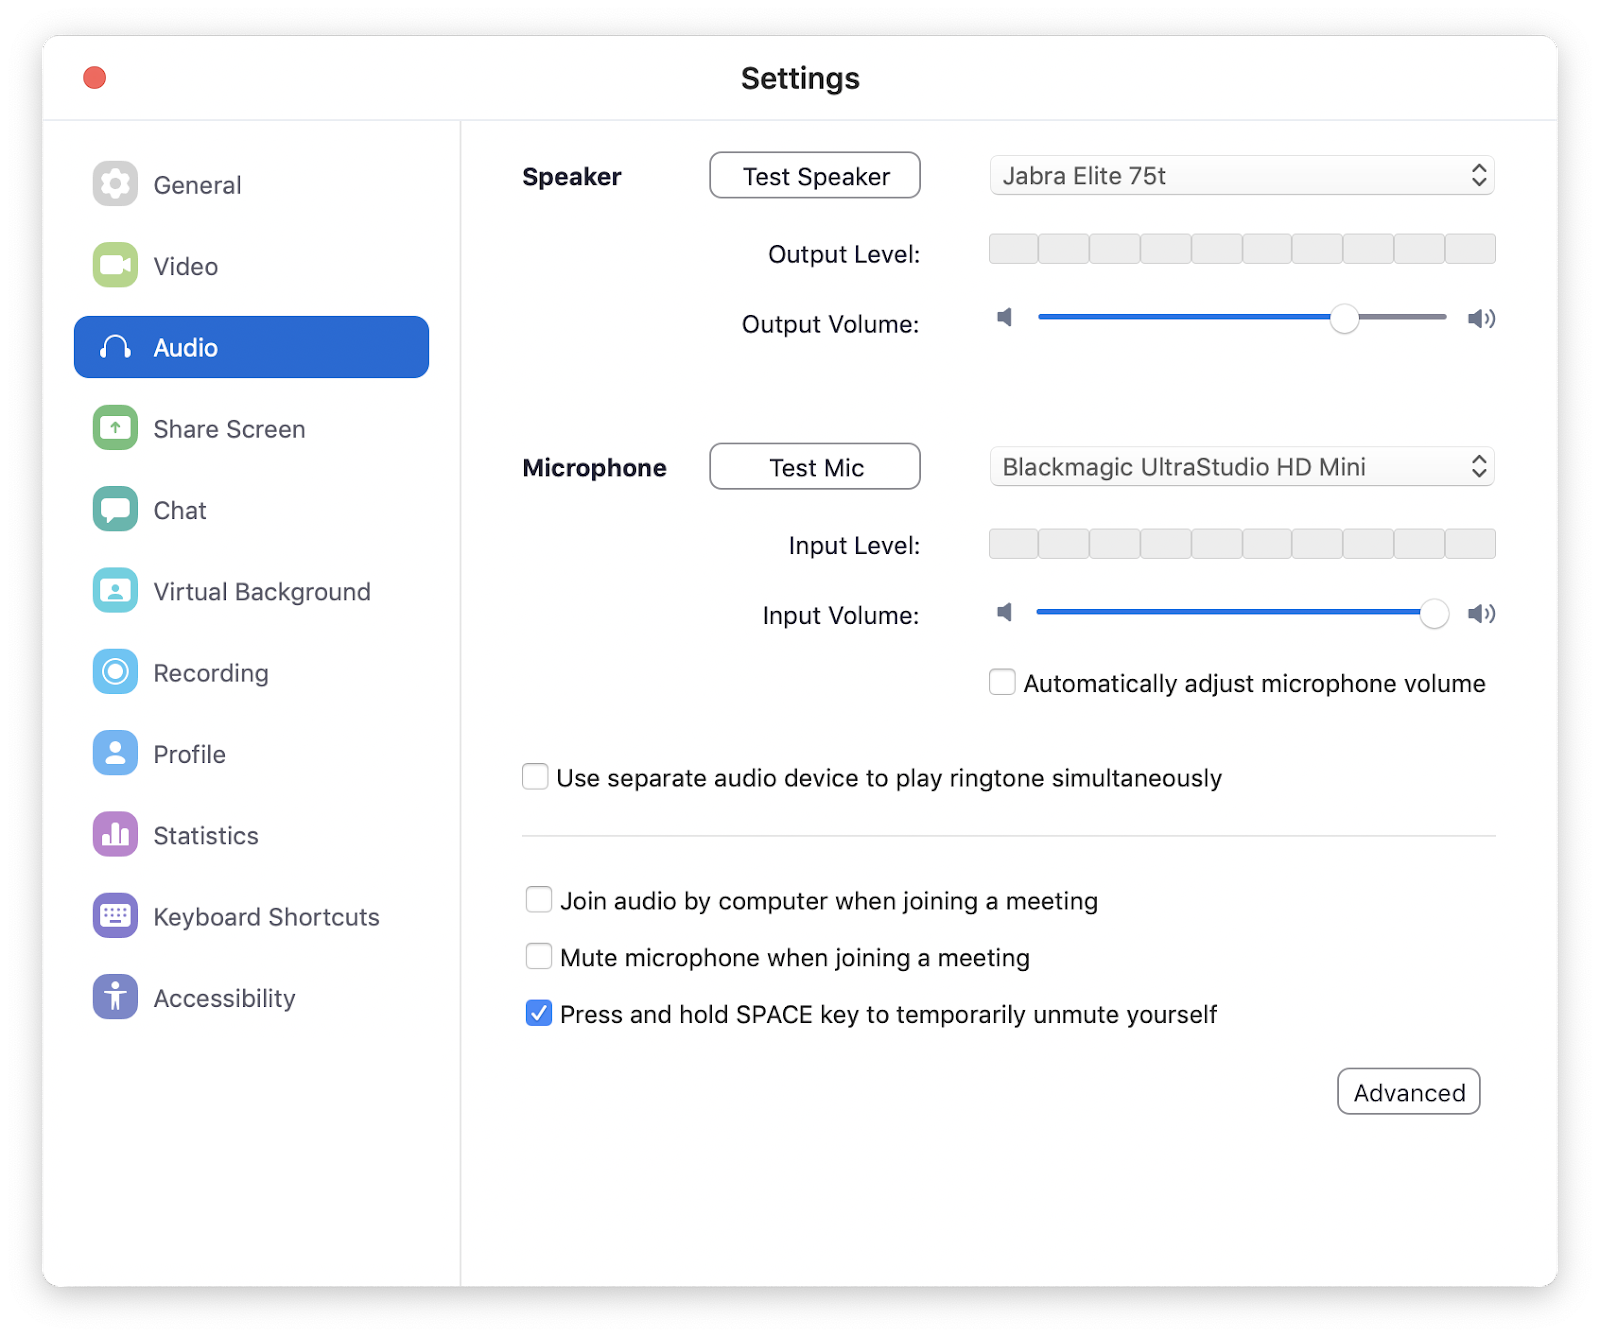
- Start your conference, and pay close attention to your audio settings. Set your speaker to be your bluetooth headset, and your microphone to be the capture device. (That means for people on the conference to hear you, they will have to pick you up via one of the on-set microphones. You might even want to plant an additional mic just for that purpose.) Turn off automatic microphone volume adjustment, which will create an annoying experience for remote listeners.
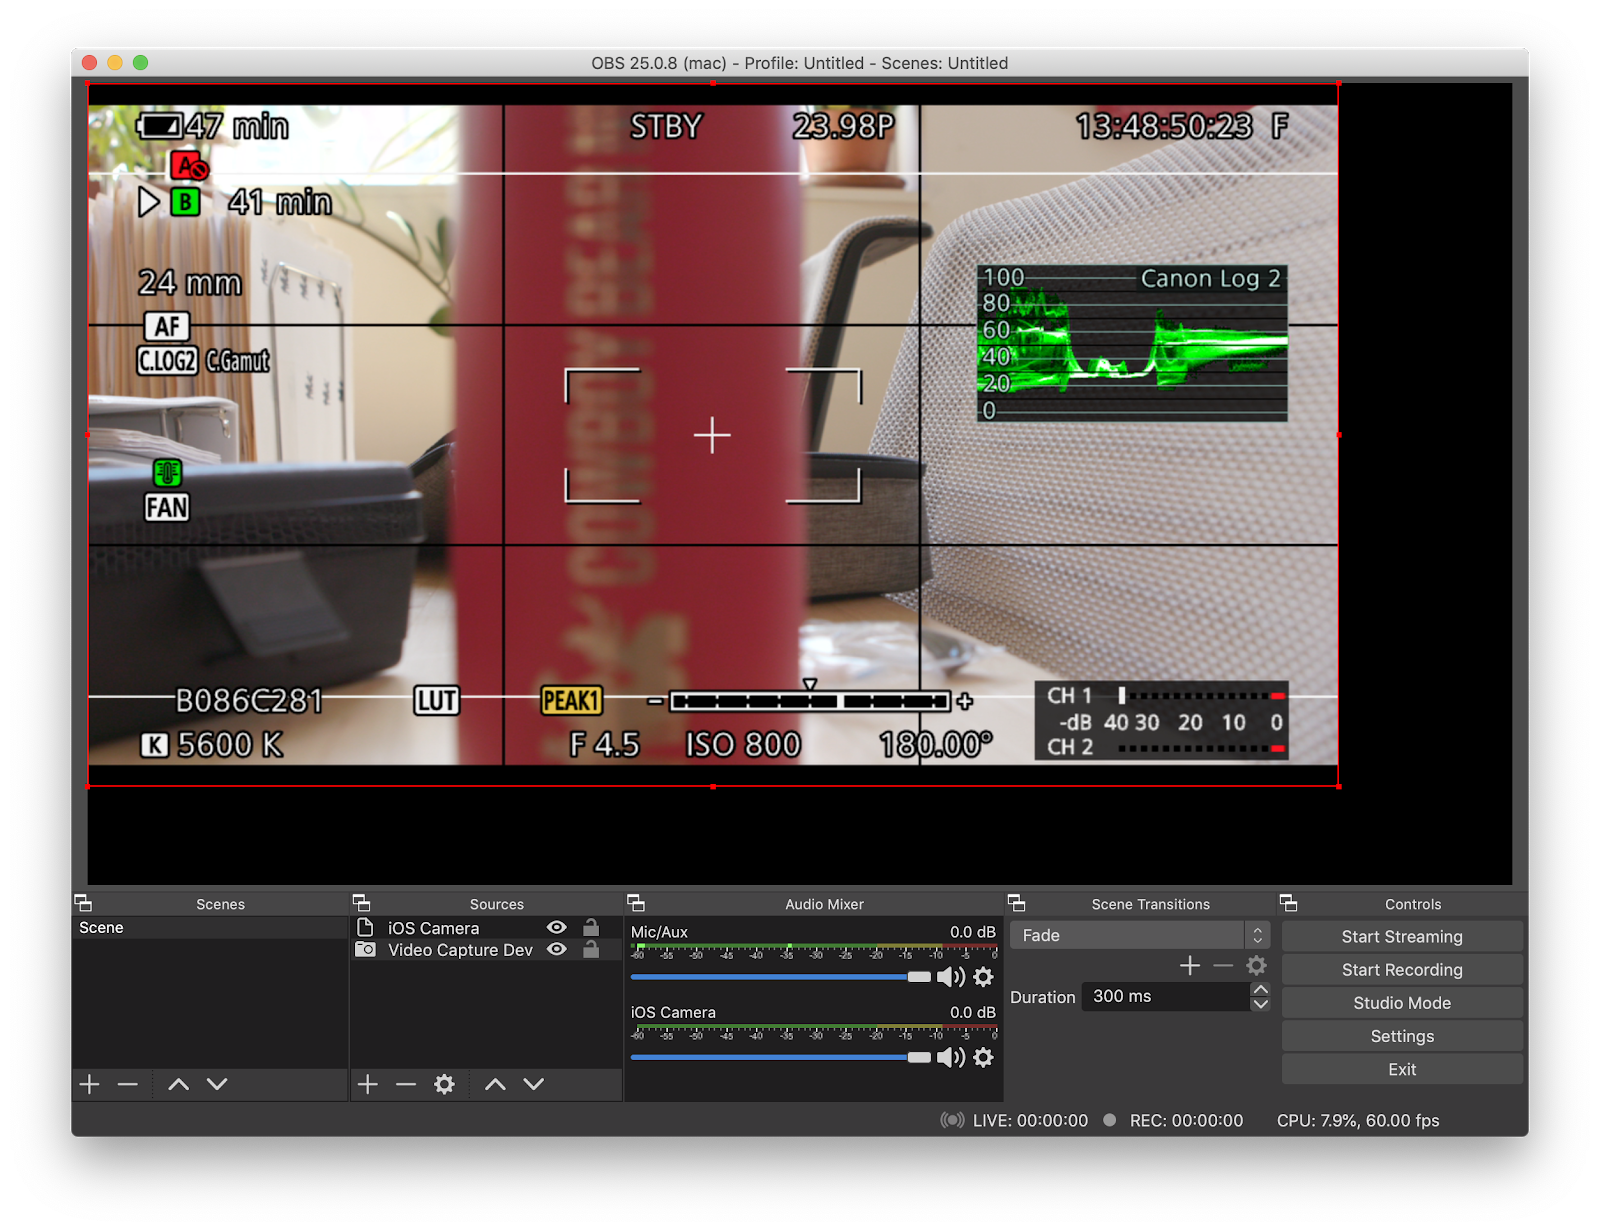
- Load up OBS and add a video capture device as a source. In this case, choose a display output so the viewers could double check levels, exposure, etc. You can easily choose if you want to include this on many professional cameras.
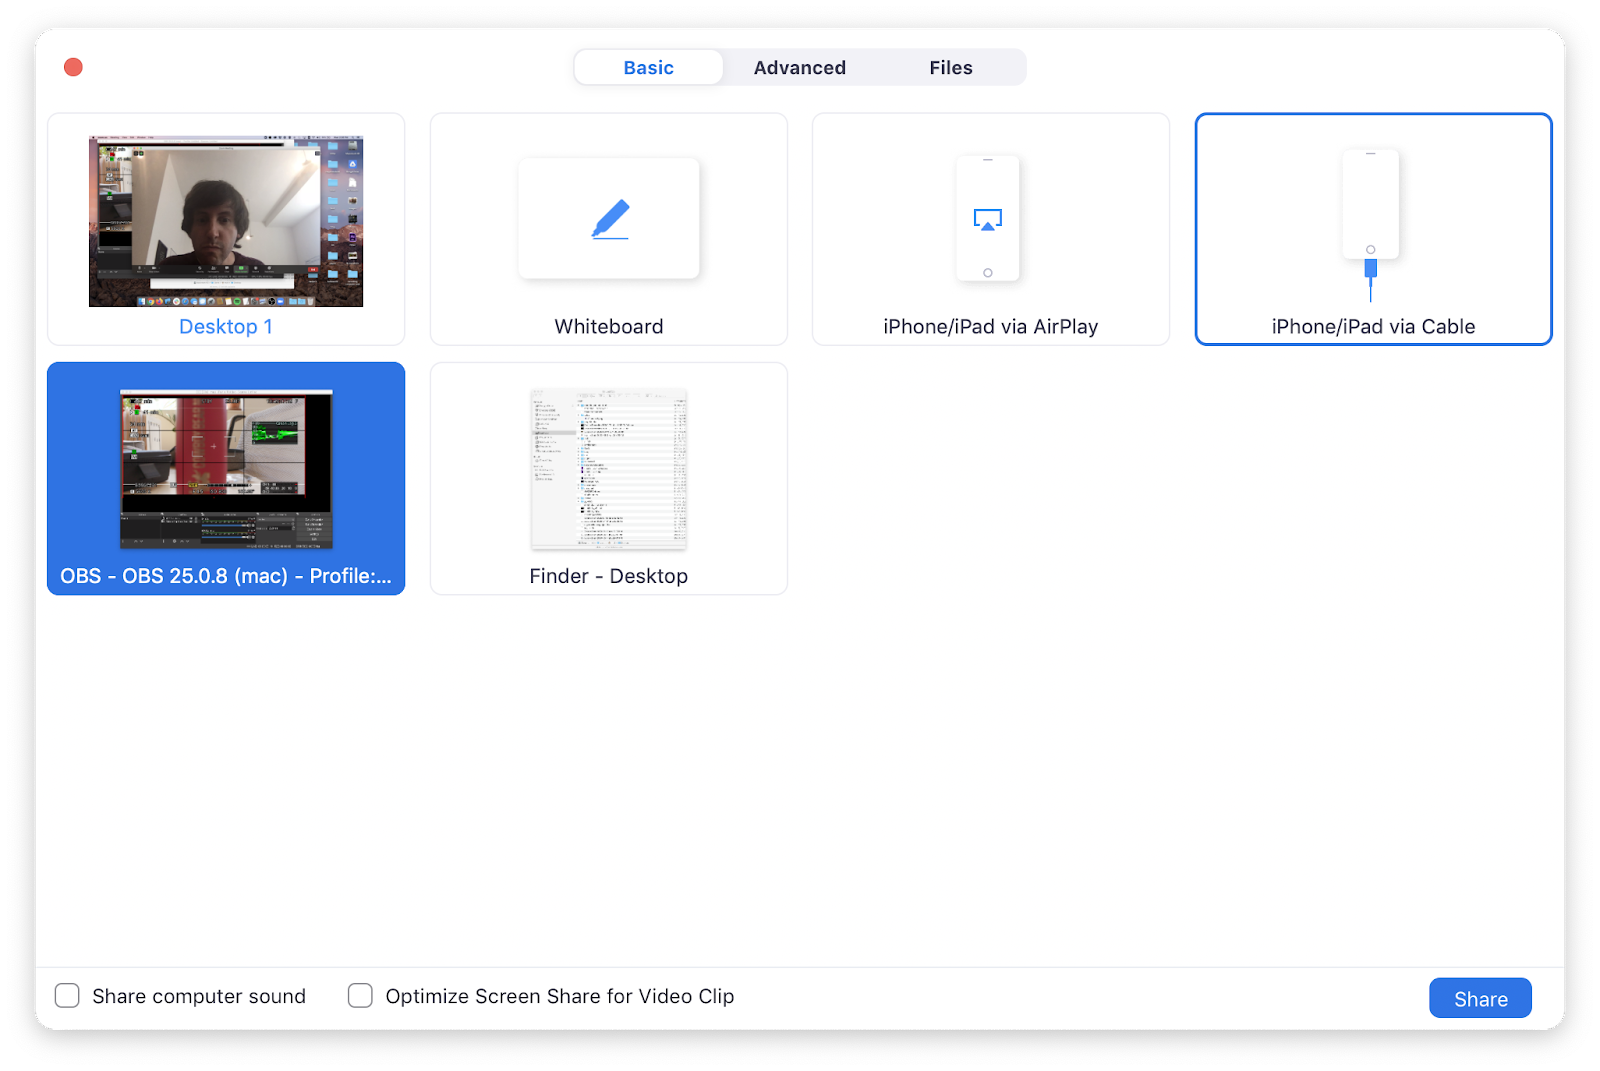
- Activate screen sharing on your conference software, and share the window. Why do this instead of sharing the actual camera feed? Good question! I was initially obsessed with getting this to work, and then realized it was too much of a headache. For instance, to get Blackmagic to work with Zoom, you need to install developer tools on your computer and unsign Zoom. Nobody wants to do that. To get it to work with Google you either have to do something similar with Chrome, or use Firefox. Even when doing it with Firefox, I found that I had to get my video to match the resolution and frame rate of the conference. There’s no way we are going to choose to shoot our video at something like 1280x720 at 29.97 fps, when we would normally do at least 1080 or 4k at 23.976. We can’t compromise on the quality of our video record, so it’s simply much easier to share the OBS screen with everyone on the conference, and know that this solution works and doesn’t create a serious headache for whoever is setting it up.
- Have a safe, and beautiful shoot! Your conference attendees can see and hear the camera feed, as well as look at scopes, settings, and audio levels, as seen below.
